Step 1 - Create an event director account and verify your account.
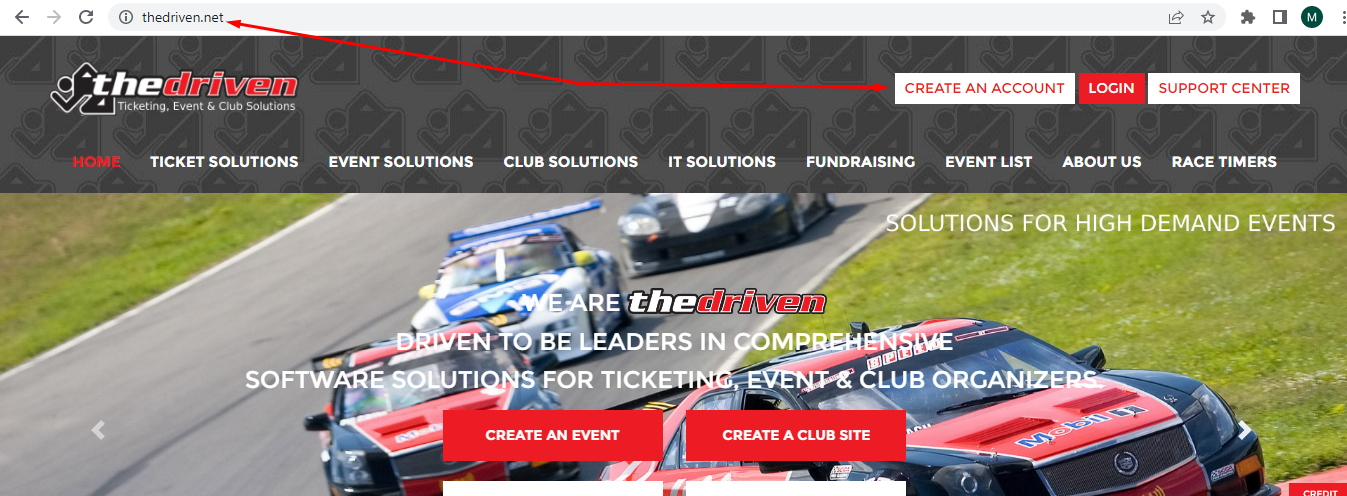
Go to: https://thedriven. net/site.director_reg.
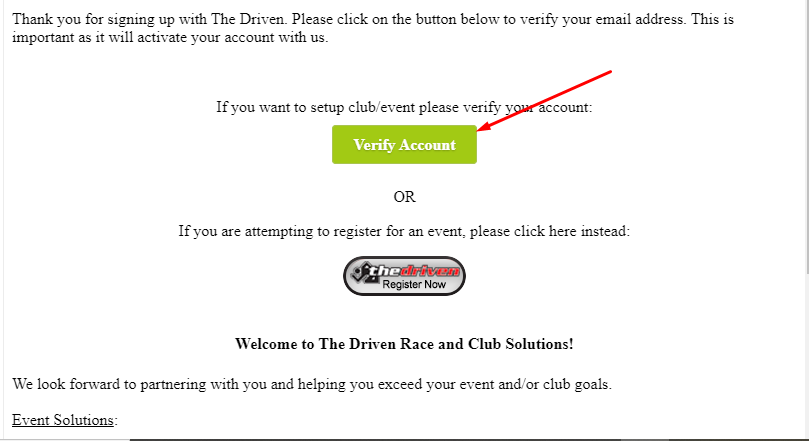
After filling all the required details, you will receive an email to verify your account.
Step 2 - Login to your event director account and click on create new event, proceed to the first step of the event creation process if the page does not automatically load.
Here you assign a event title, date, event information, and upload an event logo.

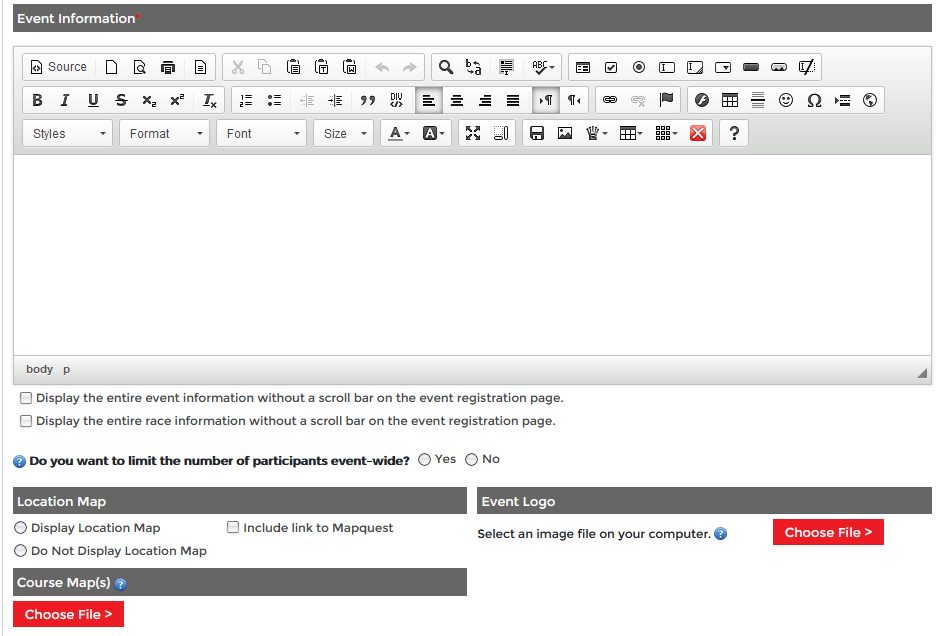
After filling out all the information click on Save & Continue > for next step.
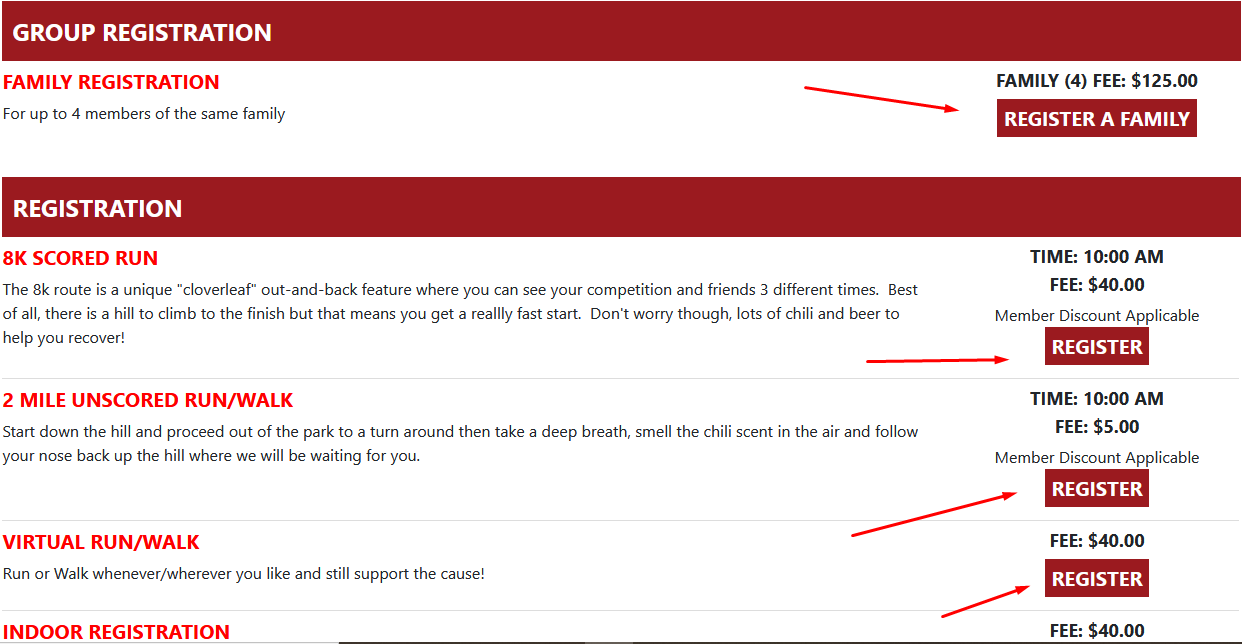
Step 3 - Registration options. Here you will create an event entry choice, and type of event being organized. A registration option will need to be created for each entry choice. For example, adult entry, youth entry, etc.
You can create your event registration option as per your event requirements. See example below.
Select registration options tab.
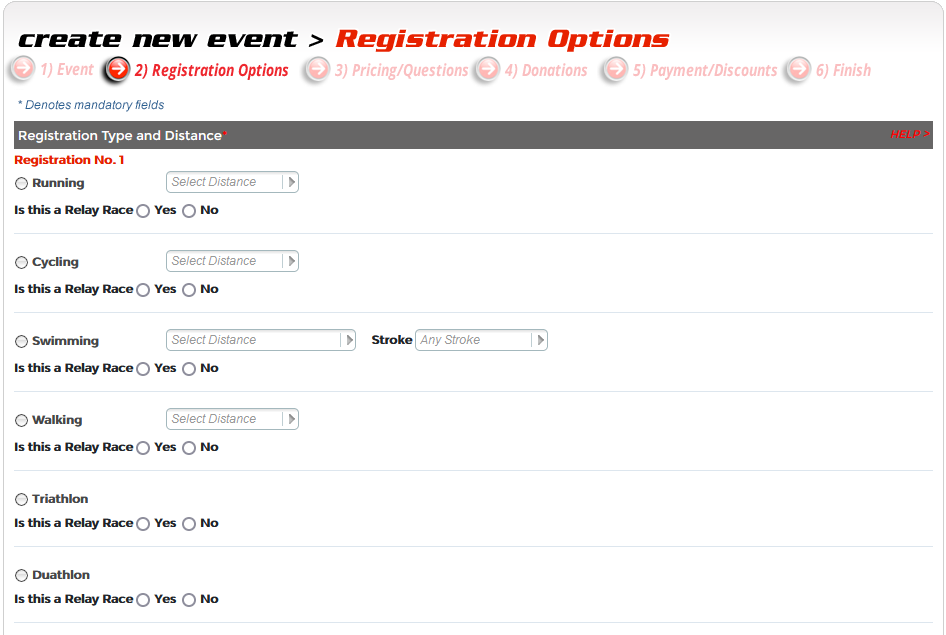
Enter registration name and registration option description.
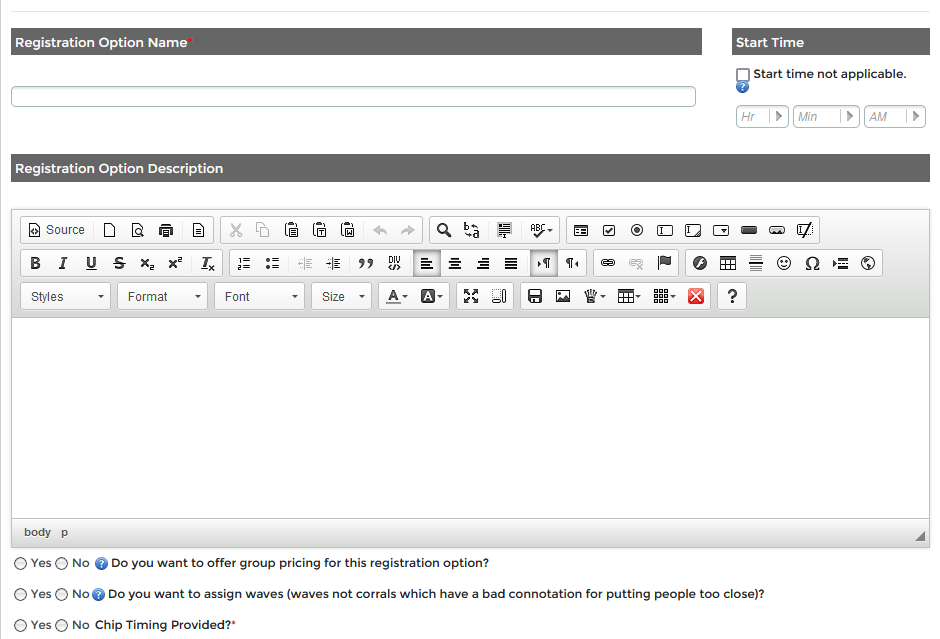
Select registration logo and registration setting as per your requirement.
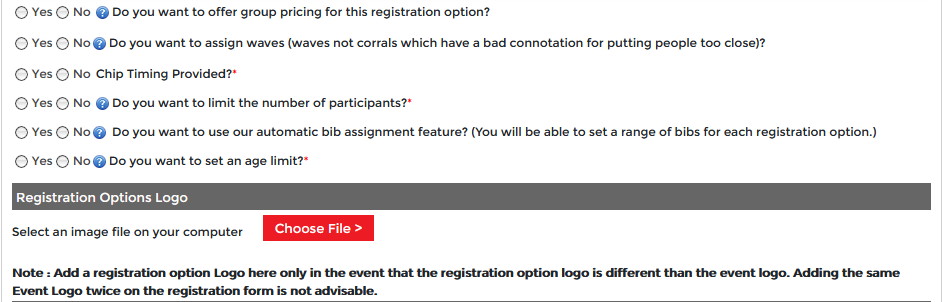
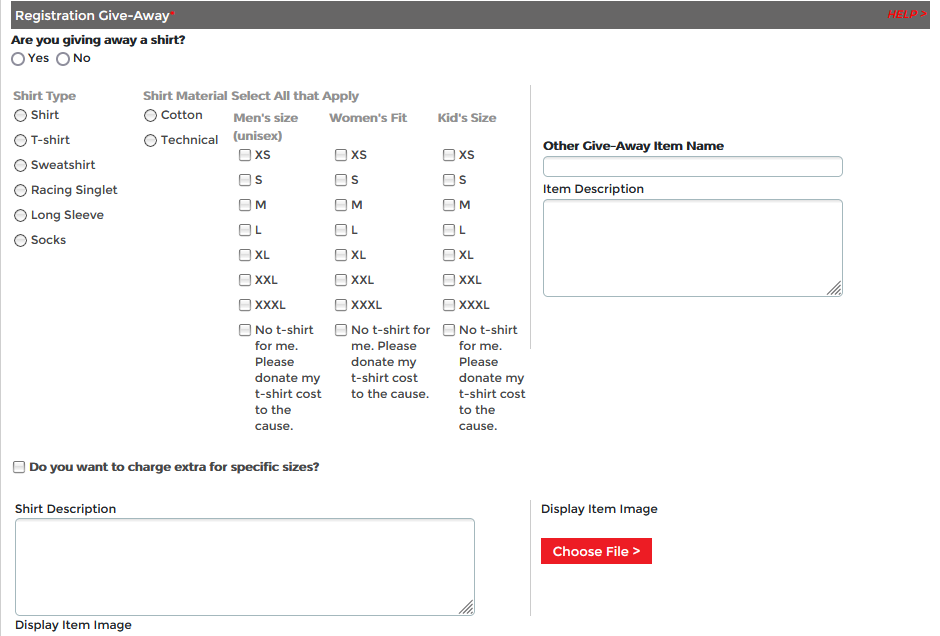
Select registration Give-Away and click on Save & Continue > for next step.
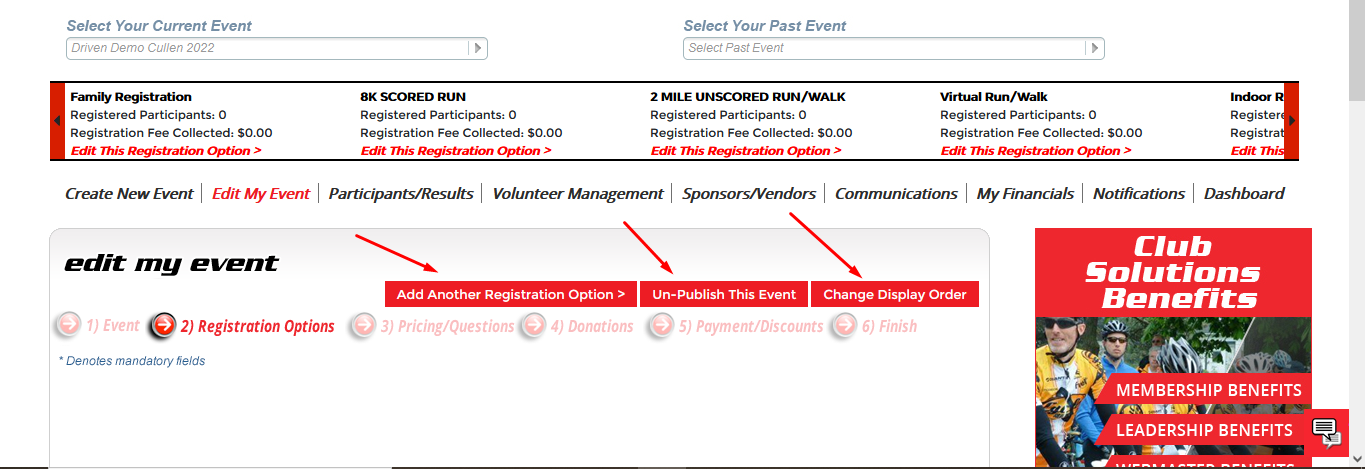
You can add registration option, remove registration option, unpublish registration option, and you can change registration option display order as well.

Step 4 - Pricing and Questions. Here you will setup the registration calendar to turn on and turn off registration, assign entry fees to your Registration option(s), and price increases. This step also allows you to create unique questions for your event that you want an attendee to answer when they are signing up.
Setup registration duration and fees.

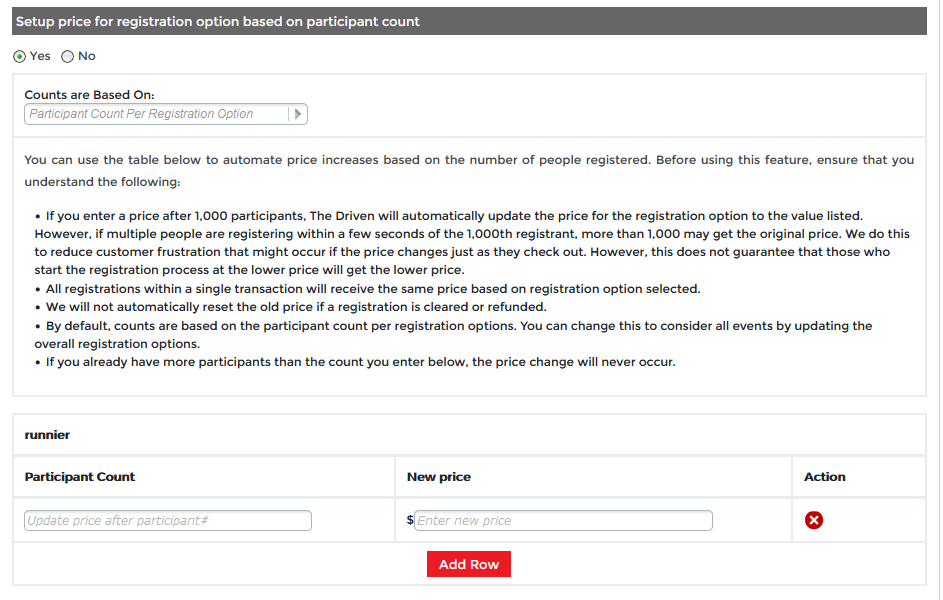
You can setup a price for registration option based on participant count.
You can setup a custom message for event registration close (This is the message that will appear on the event page after the date/time chosen above).

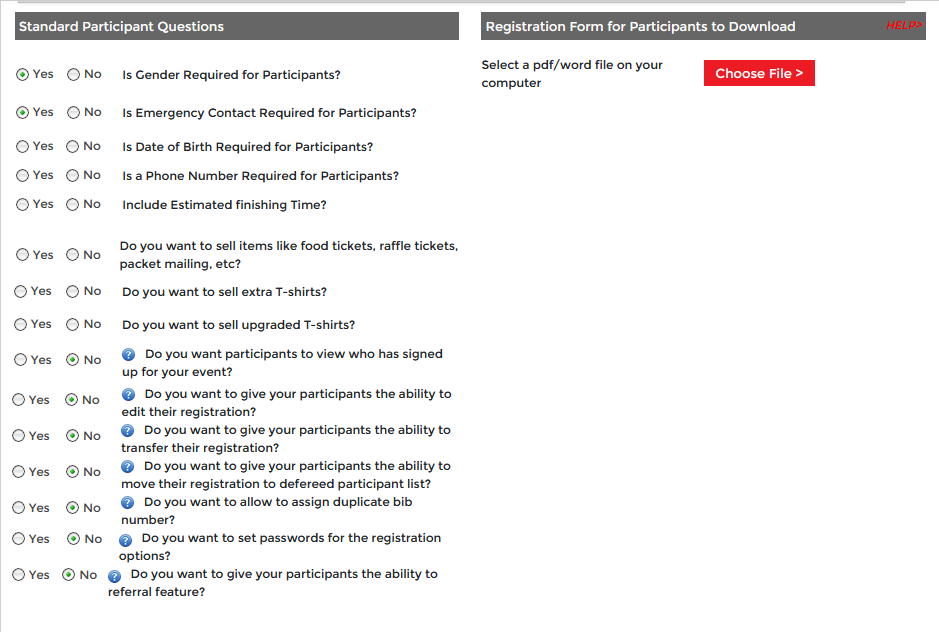
Here you can setup standard participant questions.
You can add customized questions.
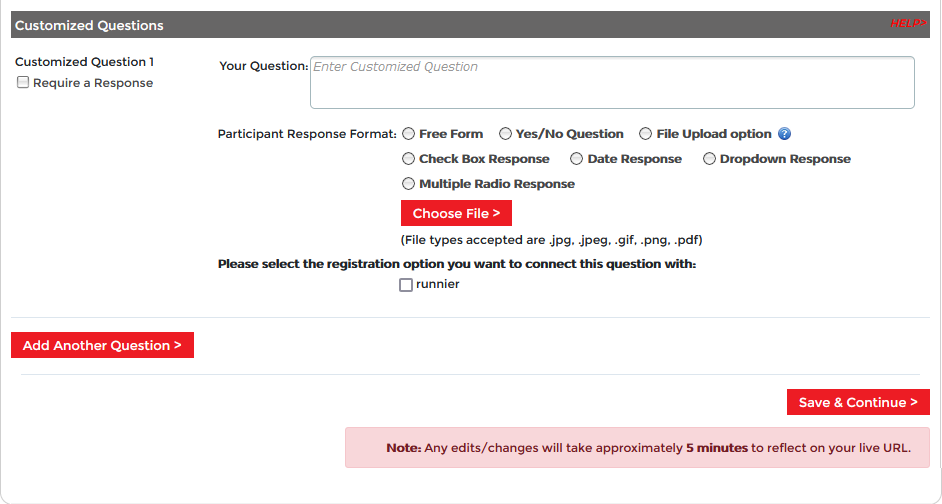
Click on Save & Continue > for next step.
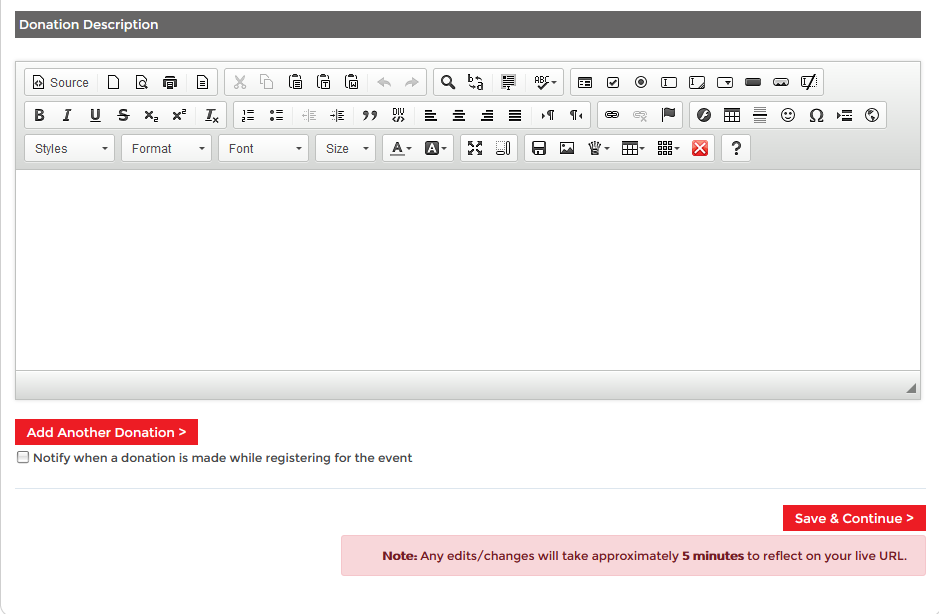
Step 5 - Donations. If your event wants to accept donations for a charitable cause on this step you can enable and create a donation fee.
Here you can setup donation level and donation title.

You can add multiple donations.
Step 6 - Payments and Discounts. This step is where you setup how you want to receive your event funds - either by Check or Direct Deposit. This step also allows you to create discount codes, set parameters to your discount codes like limited number of uses, discount by fixed amount or percentage, and date cutoff.
Click on Payment/Discounts tab of event setup.
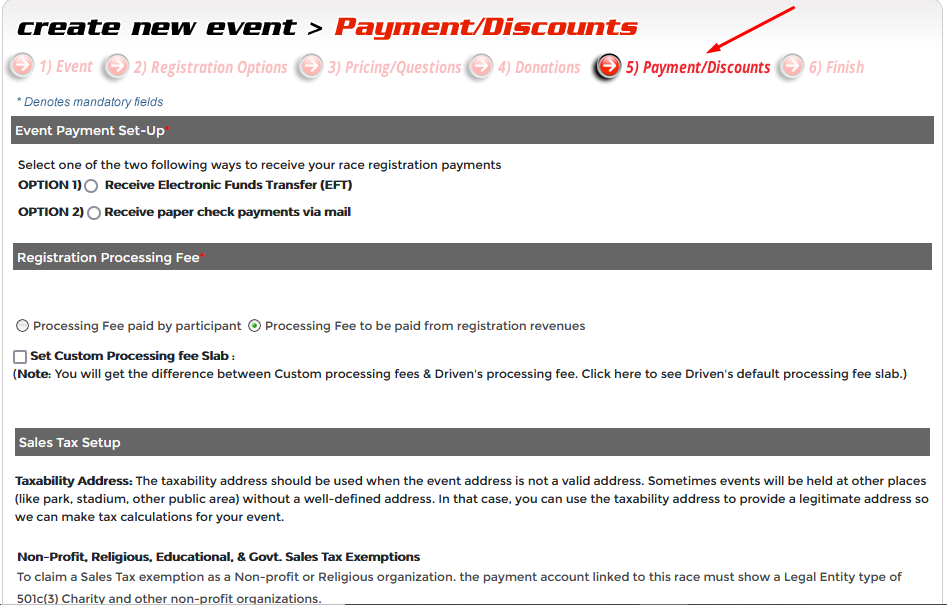
You can also setup the discount coupon code.

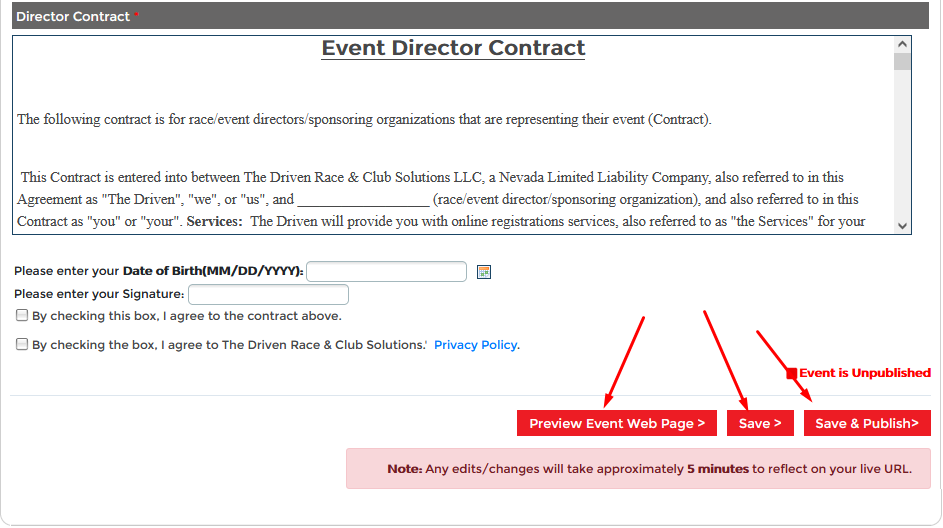
Step 7 - Finish. This is the last step to having your event ready to accept signups. This final step is where you can upload event waivers, contact information, access your unique registration Link (URL), and publish event to live.
Here you can setup participant registration contract.

You have option to set up registration confirmation email.
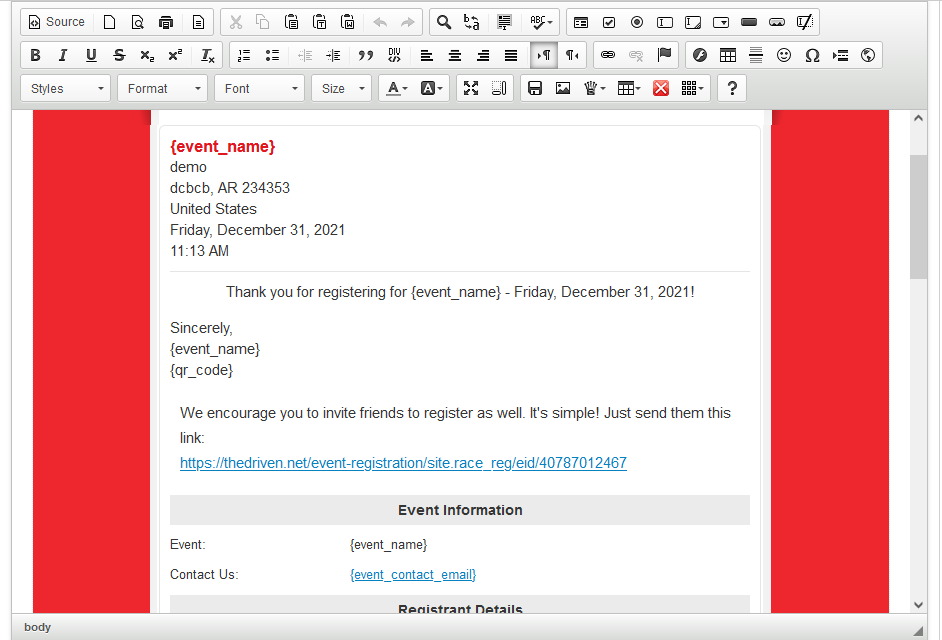
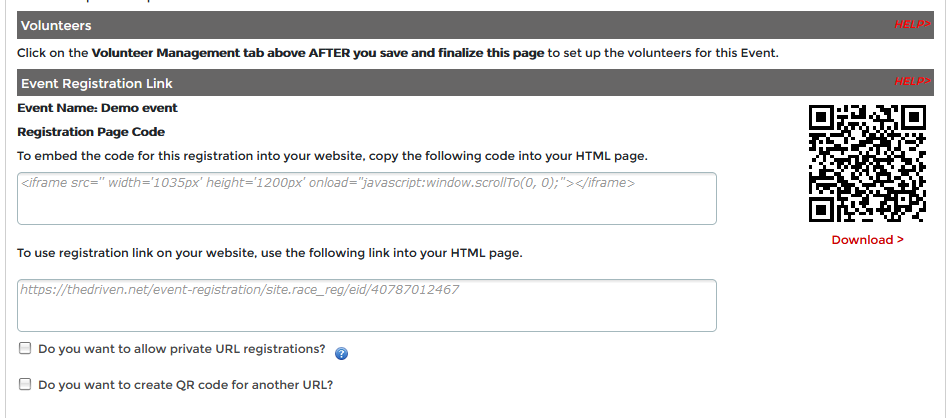
Here is where you will acquire the event registration link needed for anyone to signup for your event.
You can also create a custom registration link for your event if you don't want to display the standard registration link. Example of a custom registration link - "thedriven.net/SummerMarathon".
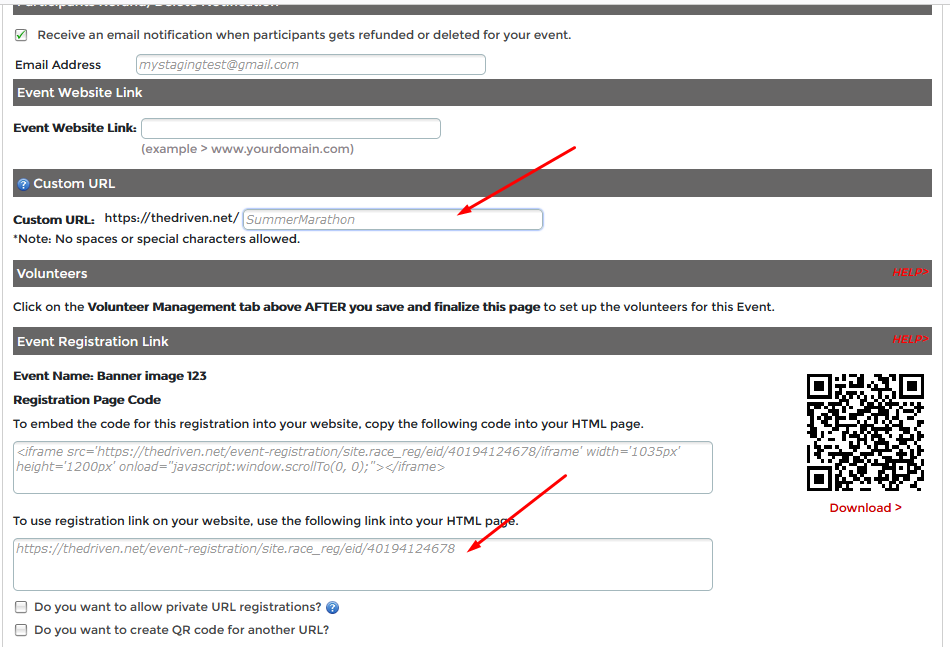
We have QR code functionality that will be auto generated.
You can setup a banner image to customize your registration pages look and feel.
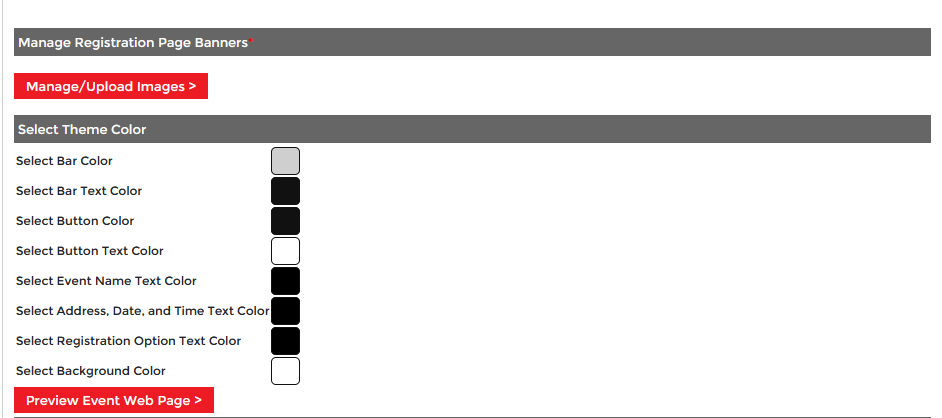
After setting the event, you can preview your event setup and have option to publish/unpublish the event.